The Google Maps block allows you to embed an interactive Google Map directly on any SeedProd page. Whether you want to show your business location, a meeting venue, or a service area, this block makes it easy to display a live map right where your visitors need it.
With controls for location, zoom level, dimensions, and alignment, you can tailor the map to fit perfectly within your page layout — no embed codes or API configuration required.
Adding the Google Maps Block to Your Pages
Follow these steps to add a Google Maps block to your SeedProd page:
Step 1: Add the Block
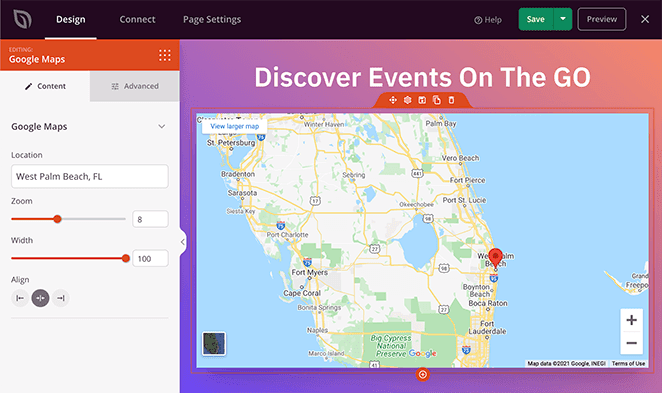
Under Design > Blocks, drag and drop the Google Maps block into the desired section of your page.

Step 2: Configure Content Settings
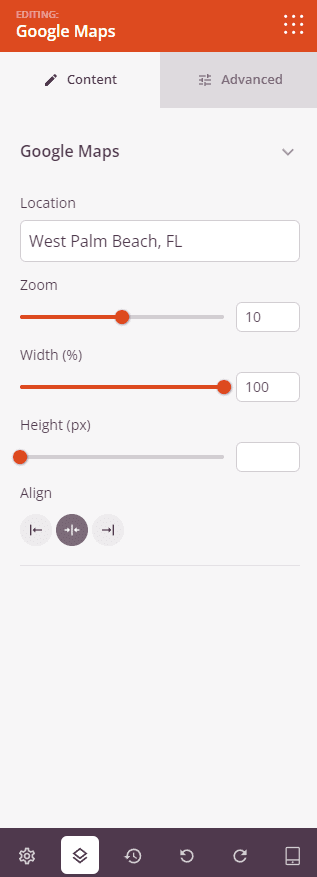
Once added, click on the Google Maps block to open its settings. In the Content tab, configure the map location and display dimensions.
Google Maps:
- Location: Enter the address or place name you want the map to display. You can use a full street address, a city name, a business name, or any location recognizable by Google Maps.
- Zoom: Set the zoom level of the map from 0 (world view) to 20 (street-level detail). A value of 10 shows a city-level view, while higher values zoom in closer to the specified location.
- Width (%): Set the width of the map as a percentage of its container, from 0 to 100%.
- Height (px): Set the height of the map in pixels, from 0 to 470px.
- Alignment: Set the horizontal alignment of the map within its section — Left, Center, or Right.
Step 3: Customize the Design
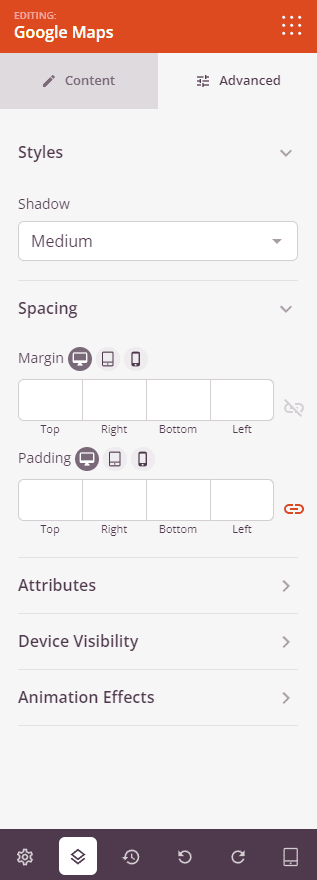
In the Advanced tab, you can customize the visual appearance and spacing of your Google Maps block.
Styles:
- Shadow: Add a drop shadow around the map embed. Choose from None, Hairline, Small, Medium, Large, X Large, or 2X Large to add depth and visual separation from surrounding content.
Spacing:
- Margin: Control the outer spacing around your Google Maps block (Top, Right, Bottom, Left). Supports per-device values for desktop, tablet, and mobile.
- Padding: Adjust the inner spacing within your Google Maps block (Top, Right, Bottom, Left). Supports per-device values for desktop, tablet, and mobile.
Attributes:
- CSS ID: Displays the auto-generated unique identifier for your Google Maps block, created automatically by SeedProd for custom styling or JavaScript targeting.
- Custom Class: Add custom CSS classes to apply specific styles from your theme or custom CSS.
- Custom Attributes: Add any HTML attributes to the block wrapper element. Enter each attribute on a new line using the format: attribute-name|value.
Device Visibility:
- Hide on Desktop: Hide the Google Maps block on desktop screens.
- Hide on Tablet: Hide the Google Maps block on tablet devices.
- Hide on Mobile: Hide the Google Maps block on mobile devices.
Animation Effects:
- Entrance Animation: Choose an animation effect that plays when the Google Maps block scrolls into view, such as Bounce, Fade In, Zoom In, Rotate In, and many more.
Step 4: Save Your Changes
Once you have finished configuring the Google Maps block and customizing its appearance, make sure to save your work.
You’ve successfully added a Google Maps block to your page! Embedding a live map makes it effortless for visitors to find your location, get directions, and understand where you’re based — all without leaving your page. Experiment with zoom levels and dimensions to find the layout that works best for your design.