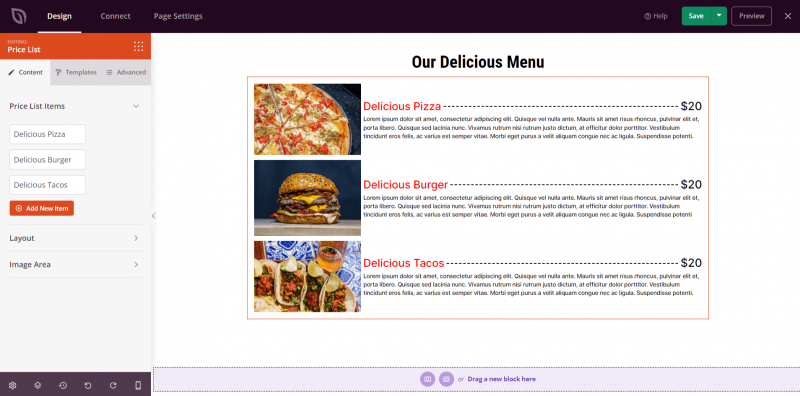
The Price List block allows you to create a visually appealing list of items accompanied by descriptions and pricing. Whether you’re showcasing a restaurant menu, service packages, or product offerings, this block gives you a flexible and polished way to present your items.
Each item in the list can include a title, description, price, optional discount price, image, and a link. You can control the overall layout, image position, price alignment, and choose from pre-designed templates to get started quickly.
Adding the Price List Block to Your Pages
Follow these steps to add a Price List block to your SeedProd page:
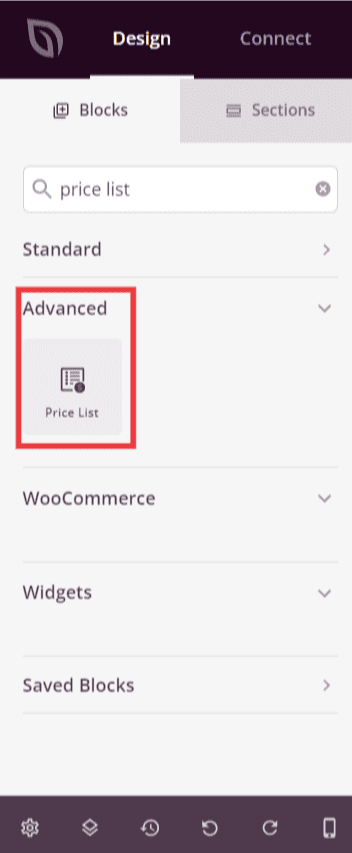
Step 1: Add the Block
Under Design > Blocks, drag and drop the Price List block into the desired section of your page.
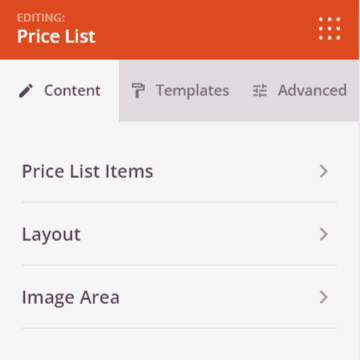
Step 2: Configure Content Settings
Once added, click on the Price List block to open its settings. The Content tab is organized into three sections: Price List Items, Layout, and Image Area.
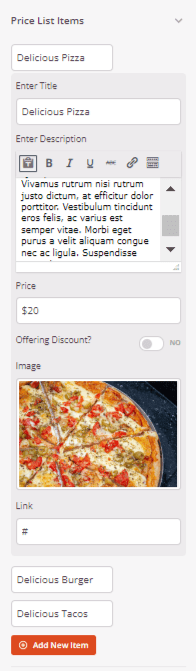
Price List Items:
- Items list: Each price list item appears as a draggable row. Drag items to reorder them. Hover over an item to reveal the duplicate and delete buttons. Click an item’s title to expand its individual settings.
- Title: Enter the name of the item as it will appear in the list.
- Description: Enter a description for the item. Supports basic rich text formatting including bold, italic, underline, and links.
- Price: Enter the displayed price for the item (e.g., $20).
- Offering Discount?: Toggle on to show a discounted price alongside the original. When enabled, enter the Actual Price field — this becomes the strikethrough original price, while the Price field shows the discounted amount.
- Image: Upload or select an image to display alongside this item, or enter an image URL directly in the Image Src field.
- Alt Text: Enter descriptive alt text for the item’s image for accessibility and SEO.
- Link: Enter a URL to make this item clickable. Works together with the Link Complete Box setting in the Layout section.
- Add New Item: Click the button at the bottom of the items list to add a new price list entry.
Layout:
- Image Position: Set where item images appear relative to the text content — Top, Left, Right, or None (no image displayed).
- Price Position: Choose where the price appears — Right of Heading (price appears on the same line as the title, separated by the title-price separator line) or Below Heading and Description (price appears after the description text). Note: this option is not available when Image Position is set to Top.
- Title Price Separator: Choose the style of the dividing line between the item title and the price when Price Position is set to Right of Heading — Solid, Dotted, Dashed, or None.
- Overall Alignment: Set the horizontal alignment of all items — Left, Center, or Right.
- Vertical Alignment: Set how the image and text content align vertically within each row — Top, Center, or Bottom. Available when Image Position is not set to Top.
- Link Complete Box: Toggle on to make the entire item row clickable using the Link URL set for each item, rather than only the item title.
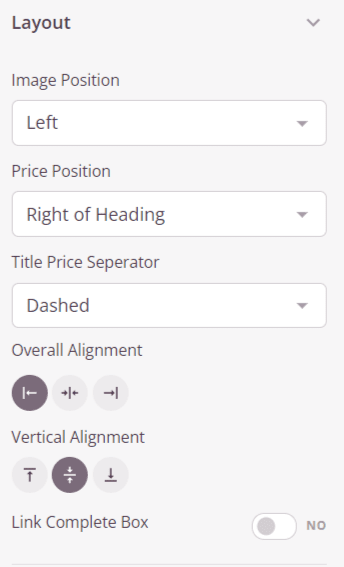
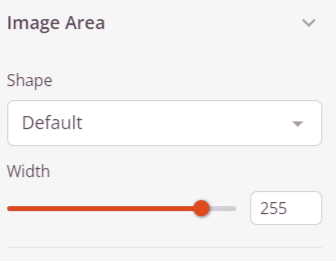
Image Area:
- Shape: Choose the shape applied to all item images — Default (square), Rounded (slight rounding), Circle (fully circular), or Custom (set your own border radius per corner).
- Width: Set the width of the image area from 1 to 300px.
- Image Border Radius: When Shape is set to Custom, set the corner radius individually for each corner (Top Left, Top Right, Bottom Right, Bottom Left).
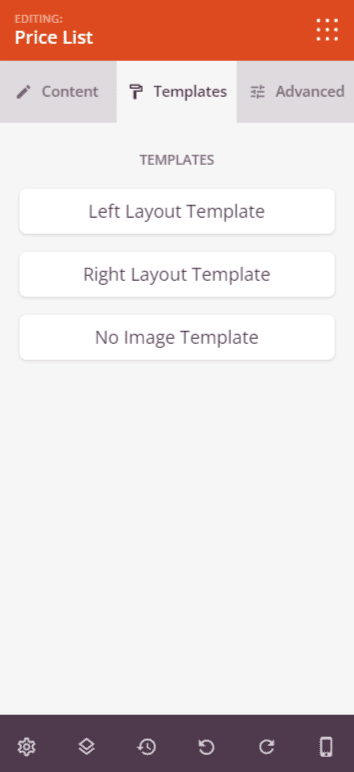
Step 2a: Choose a Template Style
In the Templates tab, you can select from pre-designed layout templates to quickly set up the appearance of your Price List.
- Available templates: Choose from 3 templates — Left Layout Template (image on the left), Right Layout Template (image on the right), and No Image Template (text and price only, no images). Clicking a template instantly applies its layout and spacing settings.
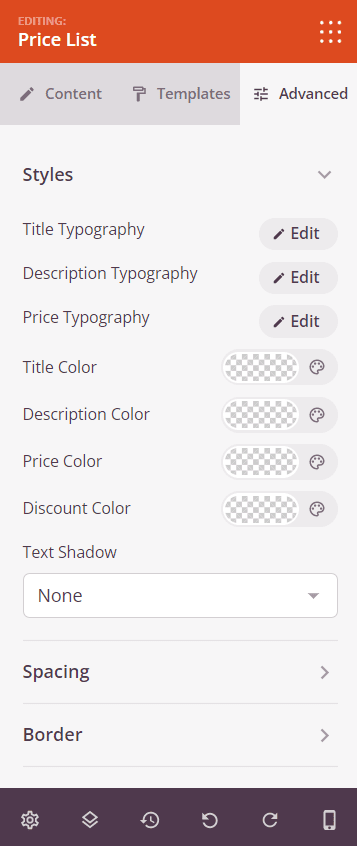
Step 3: Customize the Design
In the Advanced tab, you can fine-tune the typography, colors, borders, and background of your Price List block.
Styles:
- Title Typography: Set the font family, size, weight, and style for all item titles.
- Description Typography: Set the typography for all item description text.
- Price Typography: Set the typography for all item price text.
- Title Color: Set the color of the item title text.
- Description Color: Set the color of the item description text.
- Price Color: Set the color of the item price text.
- Discount Color: Set the color of the strikethrough original price shown when a discount is enabled on an item.
- Text Shadow: Add a shadow effect to the text — choose from None, Hairline, Small, Medium, Large, X Large, or 2X Large.
Spacing:
- Margin: Control the outer spacing around your Price List block (Top, Right, Bottom, Left). This determines how much space appears between the block and surrounding elements on the page.
- Padding: Adjust the inner spacing within your Price List block (Top, Right, Bottom, Left). This creates breathing room between the list content and the block edges.
Border:
- Border Style: Set the border style for the block — Solid, Dotted, or Dashed.
- Border Color: Set the color of the block border.
- Border Width: Set the border thickness per side (Top, Right, Bottom, Left).
- Border Radius: Set the corner rounding of the block.
Background:
- Background Color: Set a solid background color for the entire Price List block.
- Background Image: Upload or select a background image for the block, with options for position, size, and repeat behavior.
Attributes:
- CSS ID: Displays the auto-generated unique identifier for your Price List block. This ID is created automatically by SeedProd for custom styling or JavaScript targeting.
- Custom Class: Add custom CSS classes to apply specific styles from your theme or custom CSS.
- Custom Attributes: Add any HTML attributes to the block wrapper element. Enter each attribute on a new line using the format: attribute-name|value.
Device Visibility:
- Hide on Desktop: Hide the Price List block on desktop screens.
- Hide on Tablet: Hide the Price List block on tablet devices.
- Hide on Mobile: Hide the Price List block on mobile devices.
Step 4: Save Your Changes
Once you have finished configuring the Price List block and customizing its appearance, make sure to save your work.
You’ve successfully added a Price List block to your page! Use it to create attractive and informative listings that make it easy for visitors to browse your offerings, compare prices, and take action. Experiment with different layouts, image shapes, and template styles to build a price list that fits your brand perfectly.